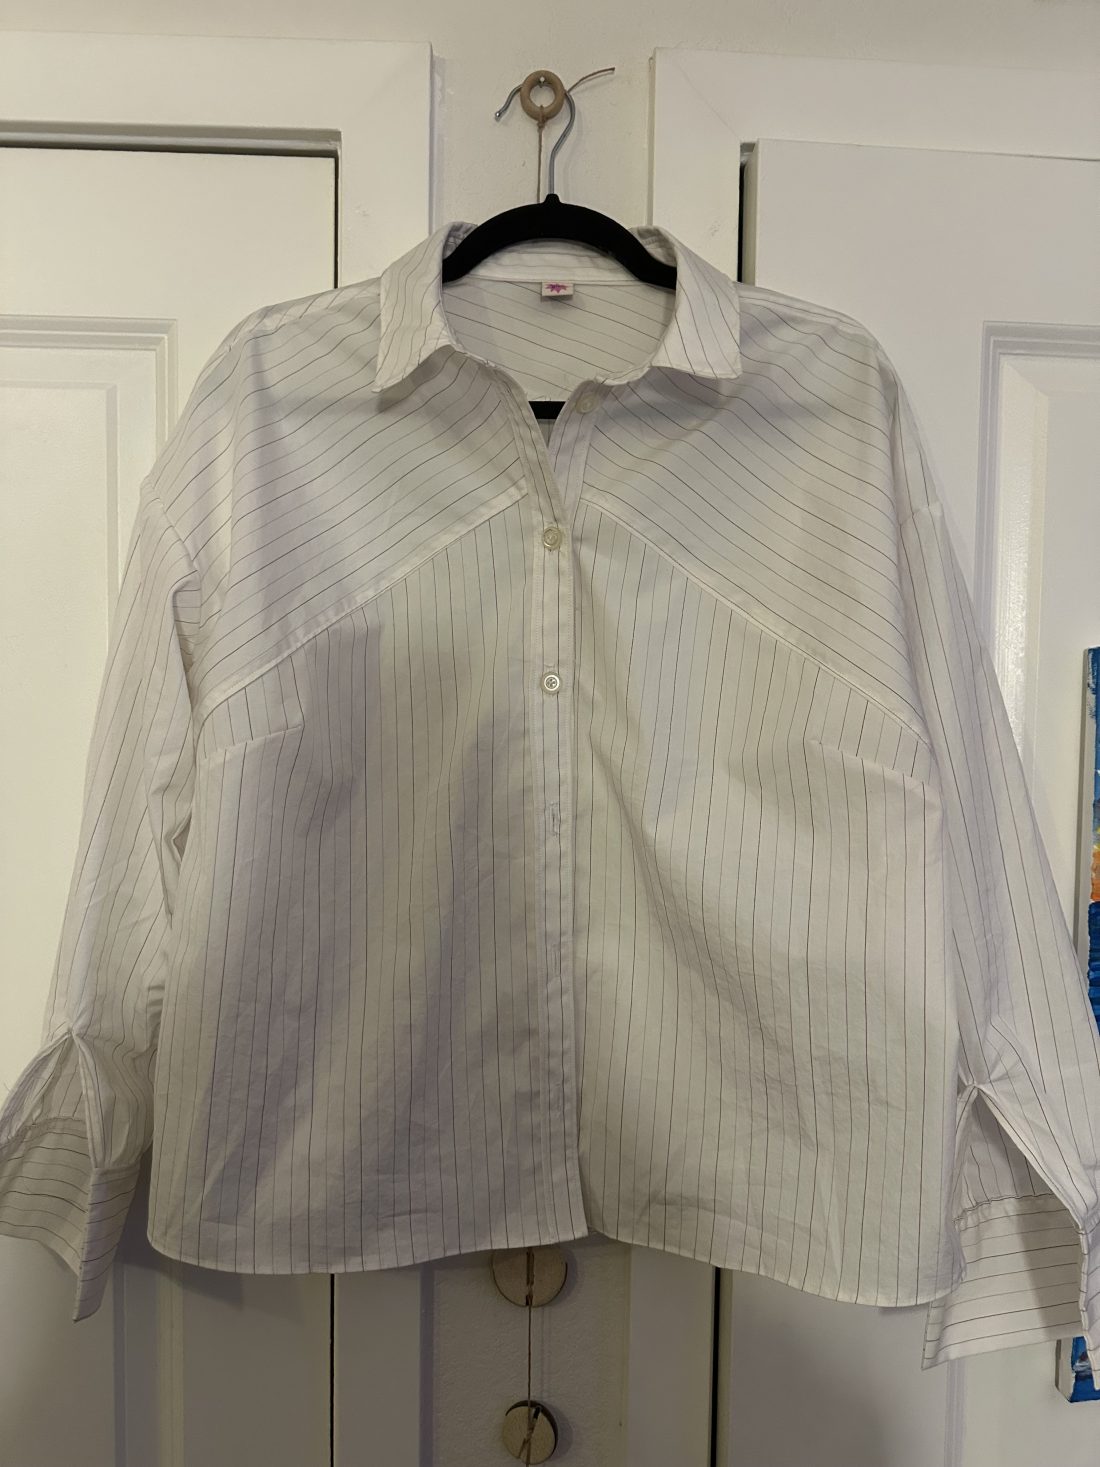
I’ve finally done it; I’ve sewn my first button-down top. Button-downs can be a bit of an intimidating project; at least, it was for me. When I saw the test sew application for the Rivi top open, I knew I wanted to finally take the plunge. I love the placement of the stripes in the front and the back; it adds such a unique touch to an otherwise simple project.
Details:
Pattern: The Rivi Top
Brand: Chalk and Notch
Size Range: 0-30, with 2 bust cup options (I made a full bust size 10)
Fabric: Woven
Skill Level: Intermediate
For my first shirt, I purchased some purple pinstripe shirting fabric from Elfreide’s Fine Fabrics in Boulder, CO, for about $36/yard. At 60″, I purchased 2 yards, but I think I could have gotten away with 1 and 3/4 (especially if I didn’t accidentally cut the back during my seam trimming process and need to cut an extra piece). I had some thrifted buttons on hand that I used, but I did buy a few more for the button at the collar and buttons on the sleeves.
Truthfully, I was pretty shocked at how easily this pattern came together, especially for someone making their first button-down. When something comes together this easily, it’s a testament to how well the pattern is written (and there wasn’t even a YouTube video to follow yet!).
Of course, by this point, I’d learned a lot of the skills necessary for this pattern: button plackets, buttonholes, French seams… And pretty much everything else was just a small variation of something I’d already learned. I am firmly of the belief that any pattern can be tackled by a confident beginner with a dedication to learning new techniques, and a pattern written this well makes that process completely doable.
My mistakes:
I had to sew on the front button placket at least three times. I truly don’t know how I kept messing it up, but every time I picked up my seam ripper, I let out a super dramatic sigh and re-read the instructions for what felt like the millionth time. Trust the process.
I also messed up the French seam allowance, so read the instructions carefully! It didn’t make a huge difference in the end, but I definitely think I was about a half inch off in a few spots where I messed up the seam allowance. Sometimes, that can slightly throw off your pattern notches, but I was able to recover.
Thoughts:
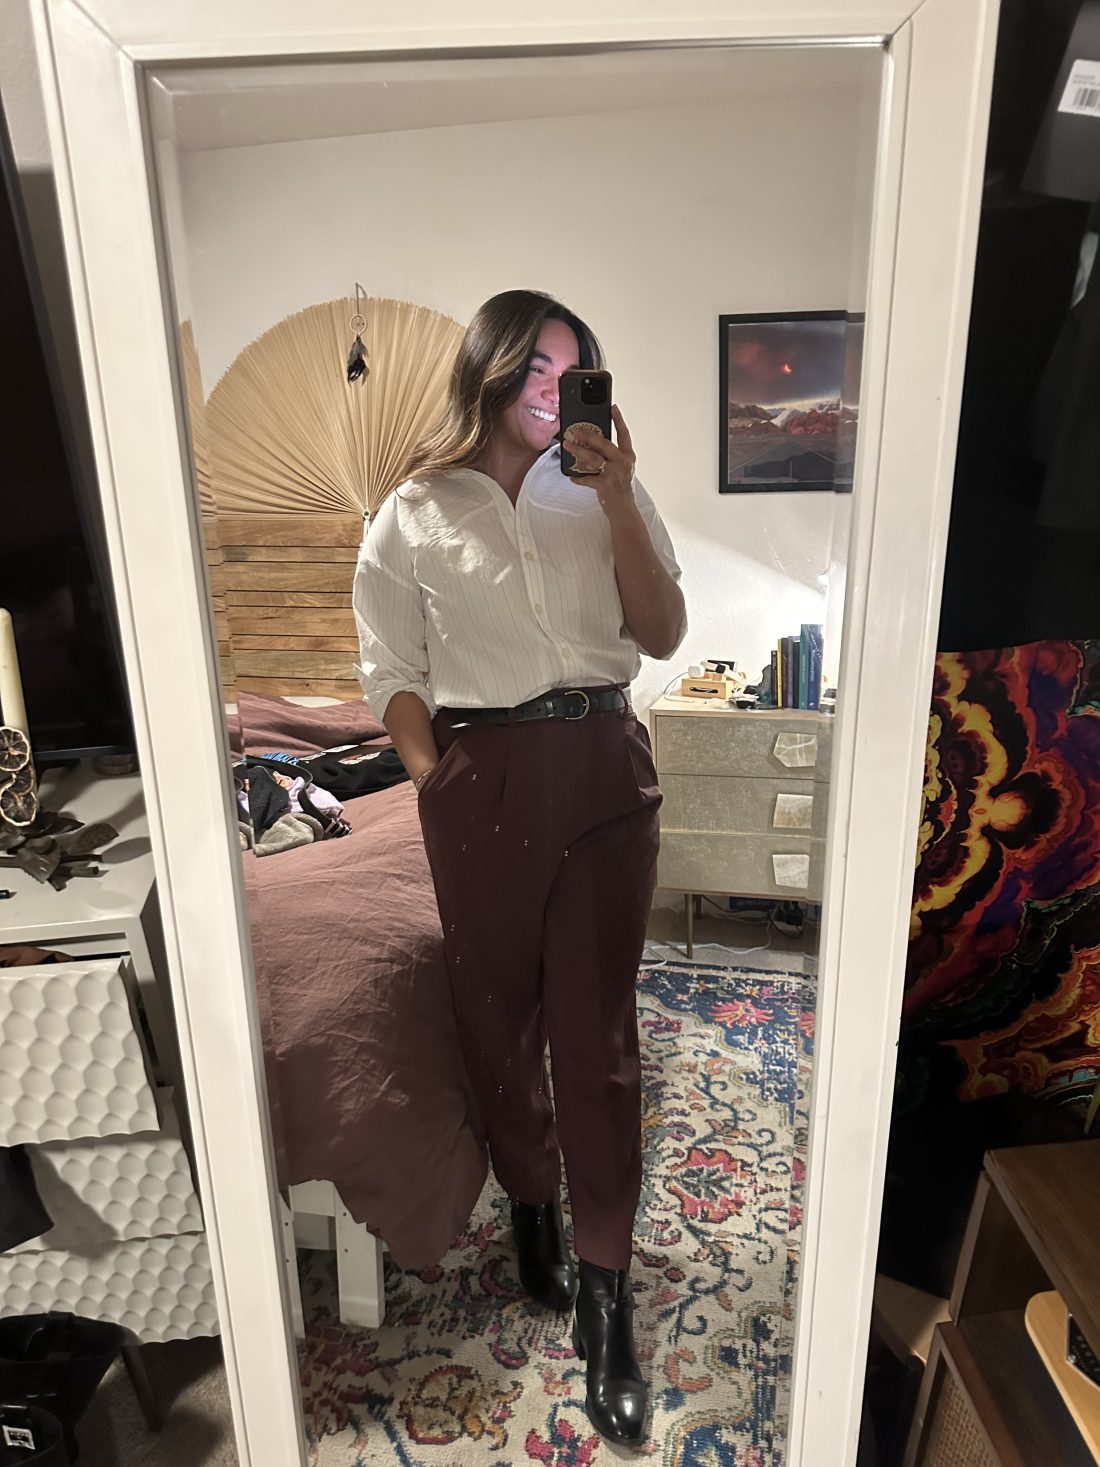
The shirt is a bit short, in my opinion. I will try to add additional length to another shirt if I make it with the intention to tuck it in (a work shirt, for example).
Otherwise, I am so happy with how this pattern turned out. As I mentioned earlier, I sewed the full-bust version of the pattern. As a 34G, finding button-down shirts for work that fit well can be a struggle, and now knowing how to sew my own that fits me with no gaping at the front plackets will be a game-changer for my work wardrobe.
As such, this shirt has quickly become one of my go-to work shirts, even if it desperately needs a steam every time it comes out of the washing machine.

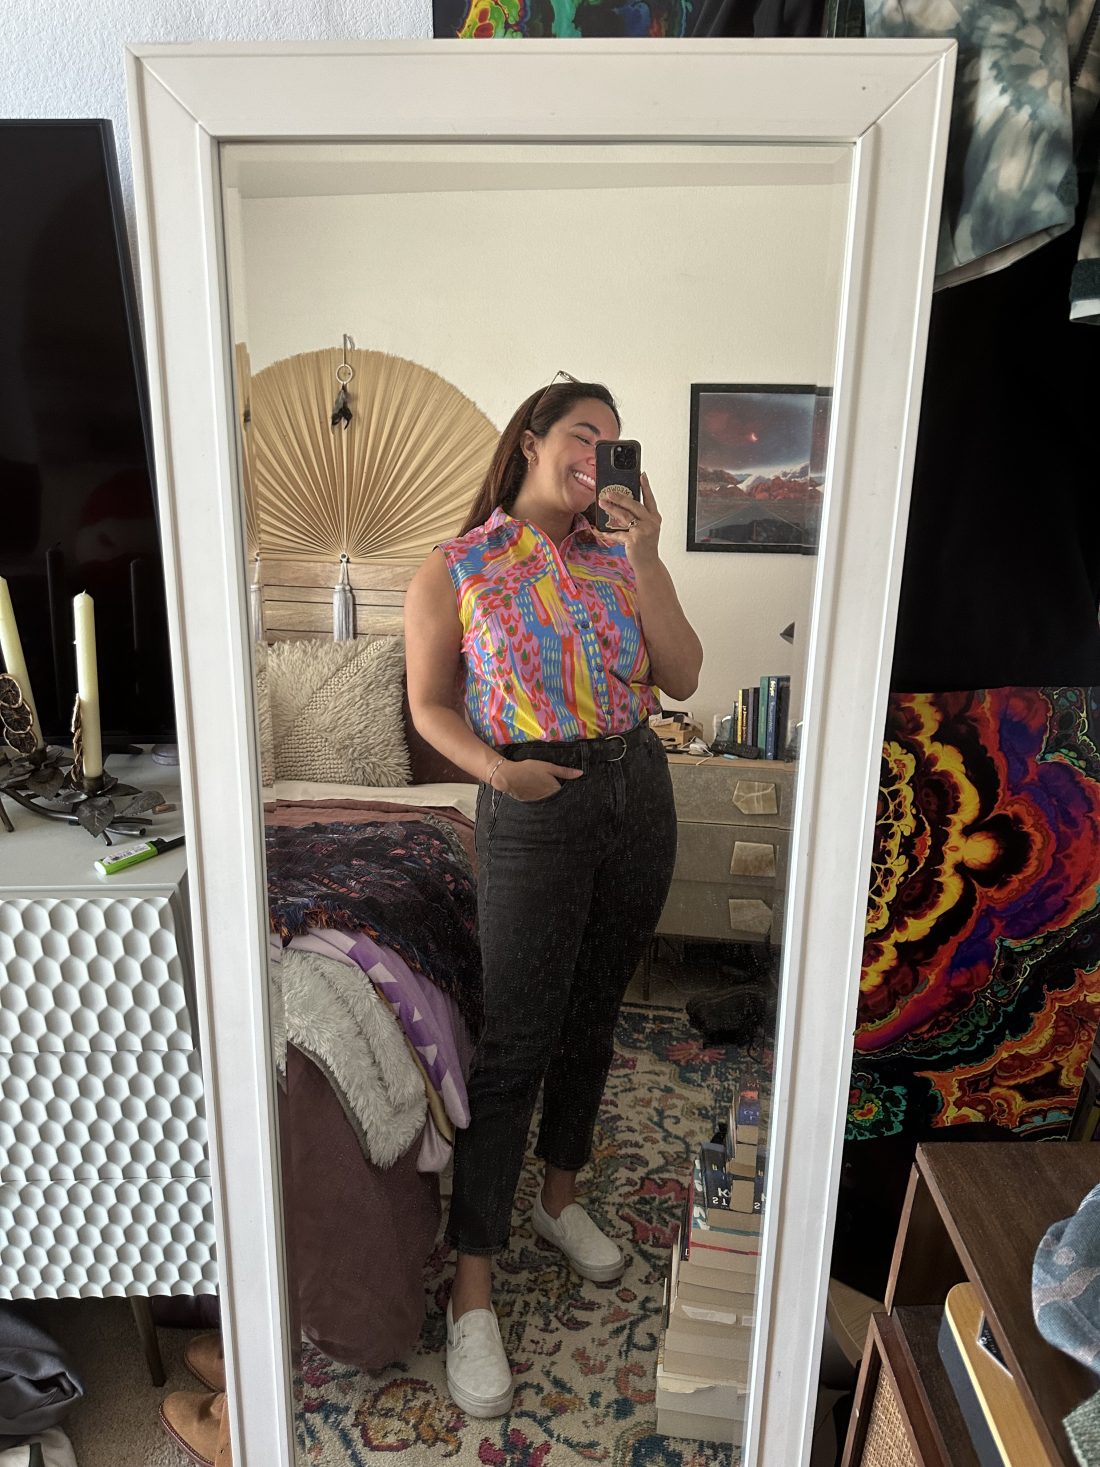
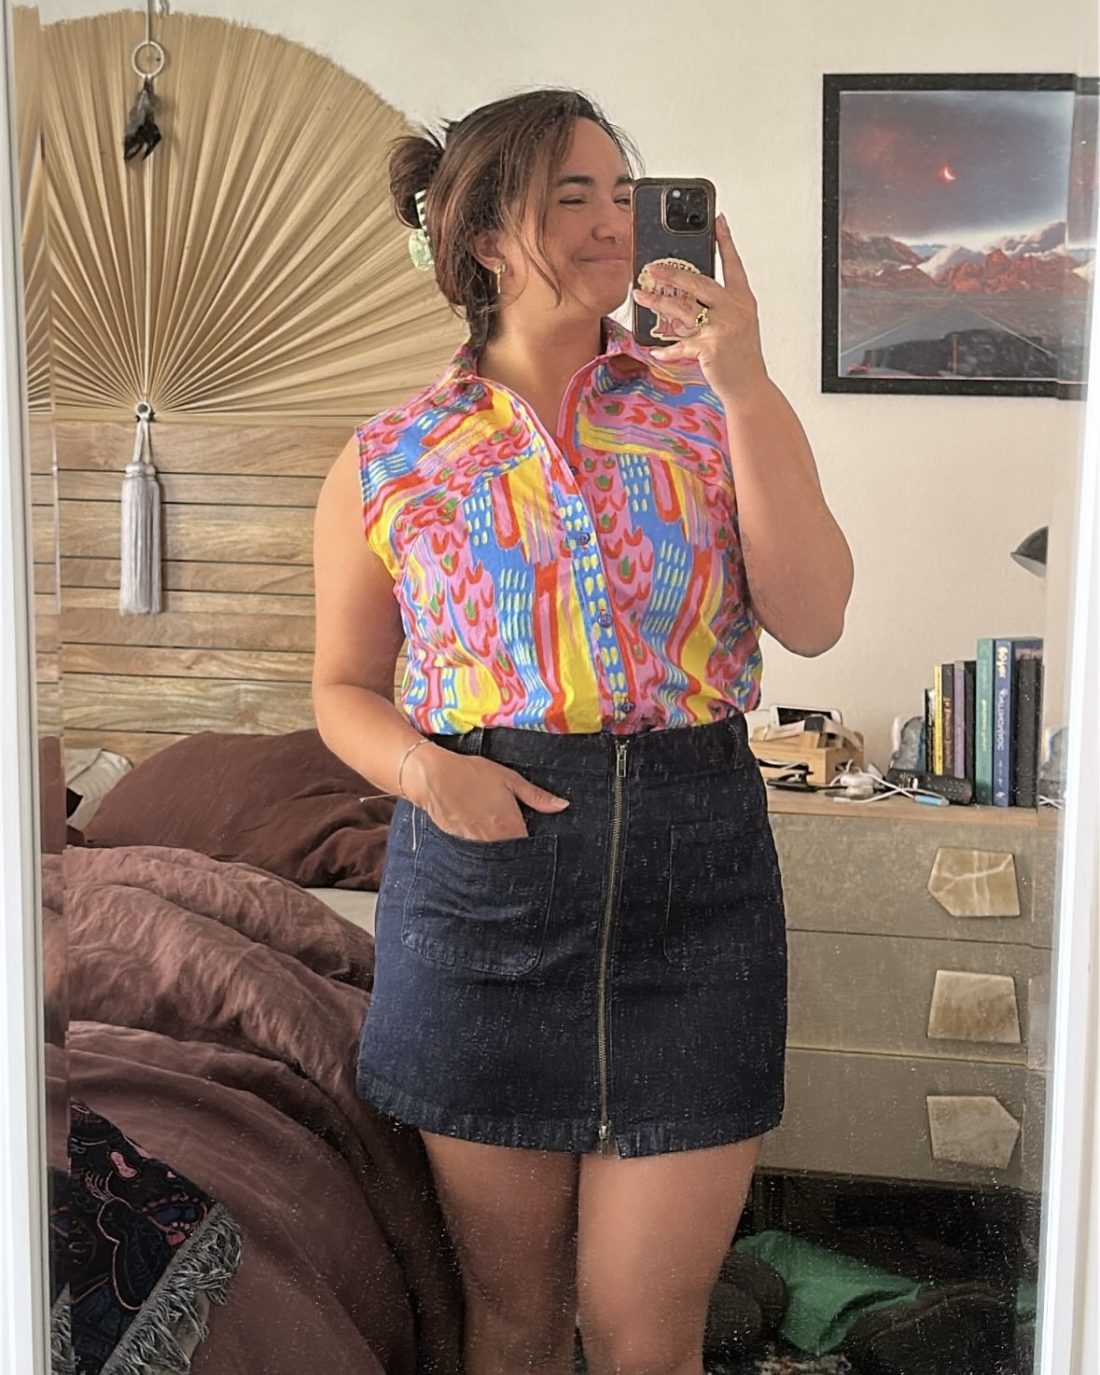
My Sleeveless Rivi Top:
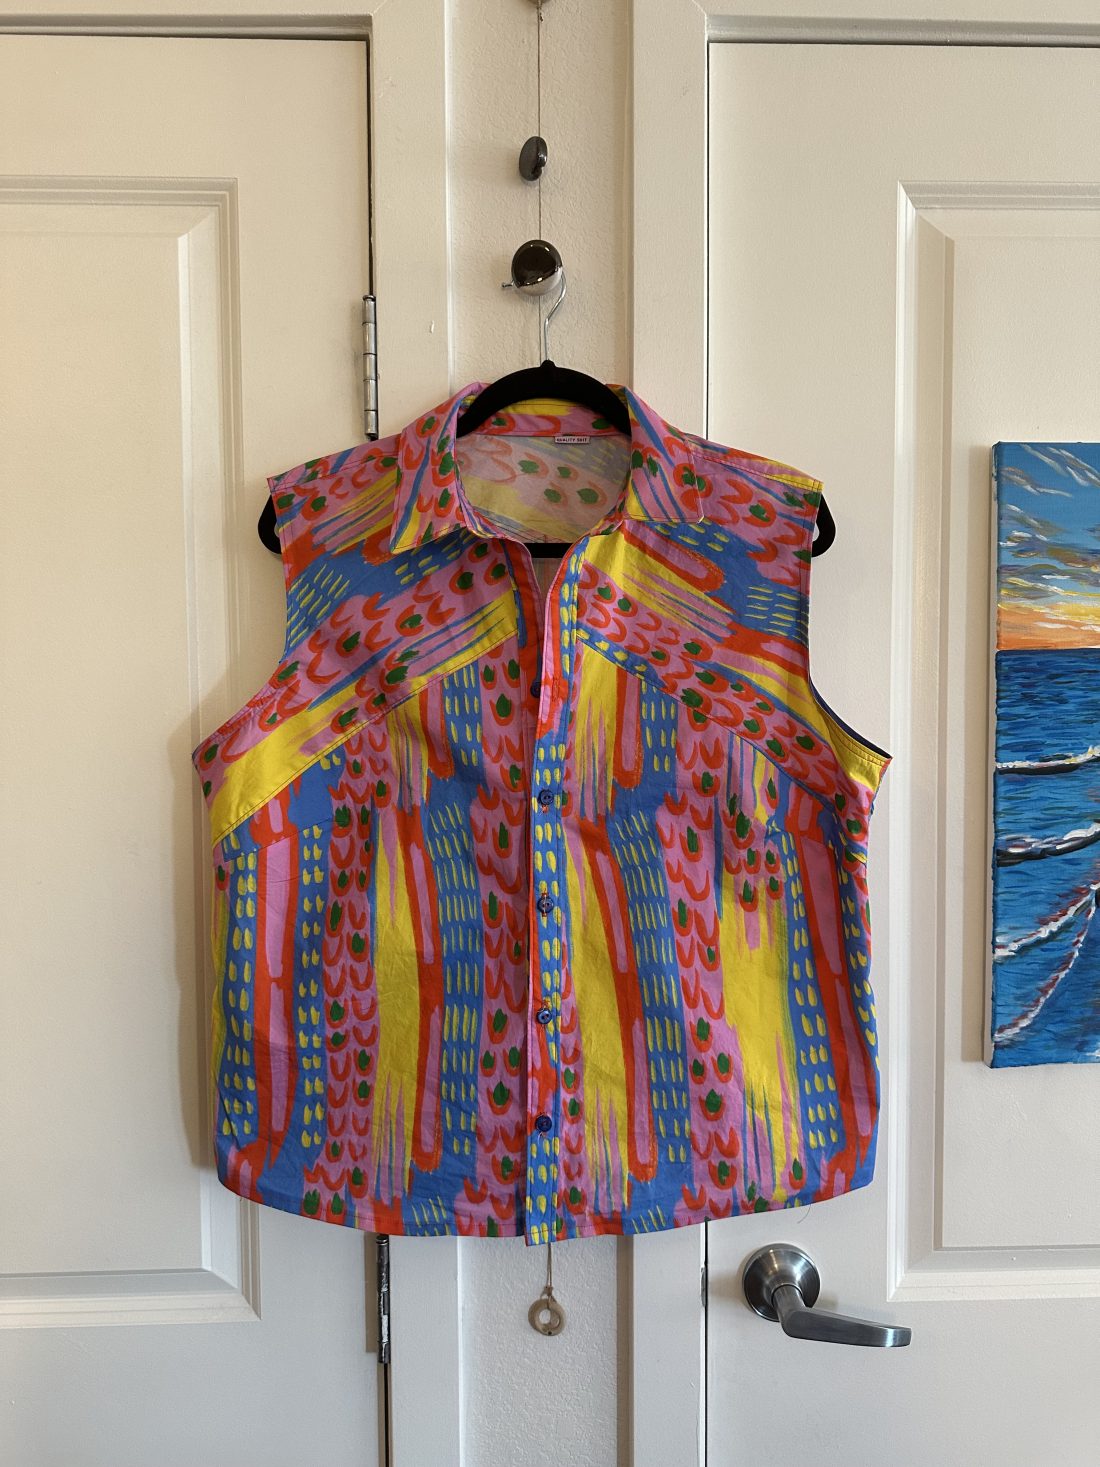
Shortly after finishing my first shirt, I knew I wanted to make another. I really wanted to start sewing fun shirts for my office wardrobe. Enter this beautiful, bright Katie Kortman fabric. I thought it would be perfect.
However, as I started sewing and watching it come together, I had a slight freak-out. This pattern was way too loud for a sleeveless top. (Maybe not for everyone, but for me at least.) I was worried that if I continued with the long-sleeve version, I would end up with an obnoxious clown shirt. And maybe it’s an exaggeration, but I wanted to wear the shirt, not have the shirt wearing me.
So, midway through the sewing process, I decided to try my hand at salvaging the pattern to make it sleeveless. I had, after all, made it this far.
So what’s a girl to do? First, I texted my sewing group chat. Maybe they would know.
Can I use bias tape to finish the sleeves? Can I fix this?
How I altered the pattern:
I pulled a favorite cropped button-down out of my closet and laid it on top of the pattern. Adding about 3/8″ of seam allowance, I traced the outline of the armcyes and where I would have to cut each of the shoulders. I was a bit wary of cutting too much, so I did start by giving myself ample seam allowance and trying it on until I was happy with the fit.
After I’d cut each of the armcyes, I used bias tape to finish the edges, which ended up being a pretty easy endeavour.
I debated cropping this top as well but settled on keeping it the original length, deciding that I could tie it for a cropped look if I wanted that.
Next thing I knew – I was ready to wear this bright shirt out and about. Personally, I think I made a good decision in leaving the sleeves off this one; I already know it’ll get plenty more wear.