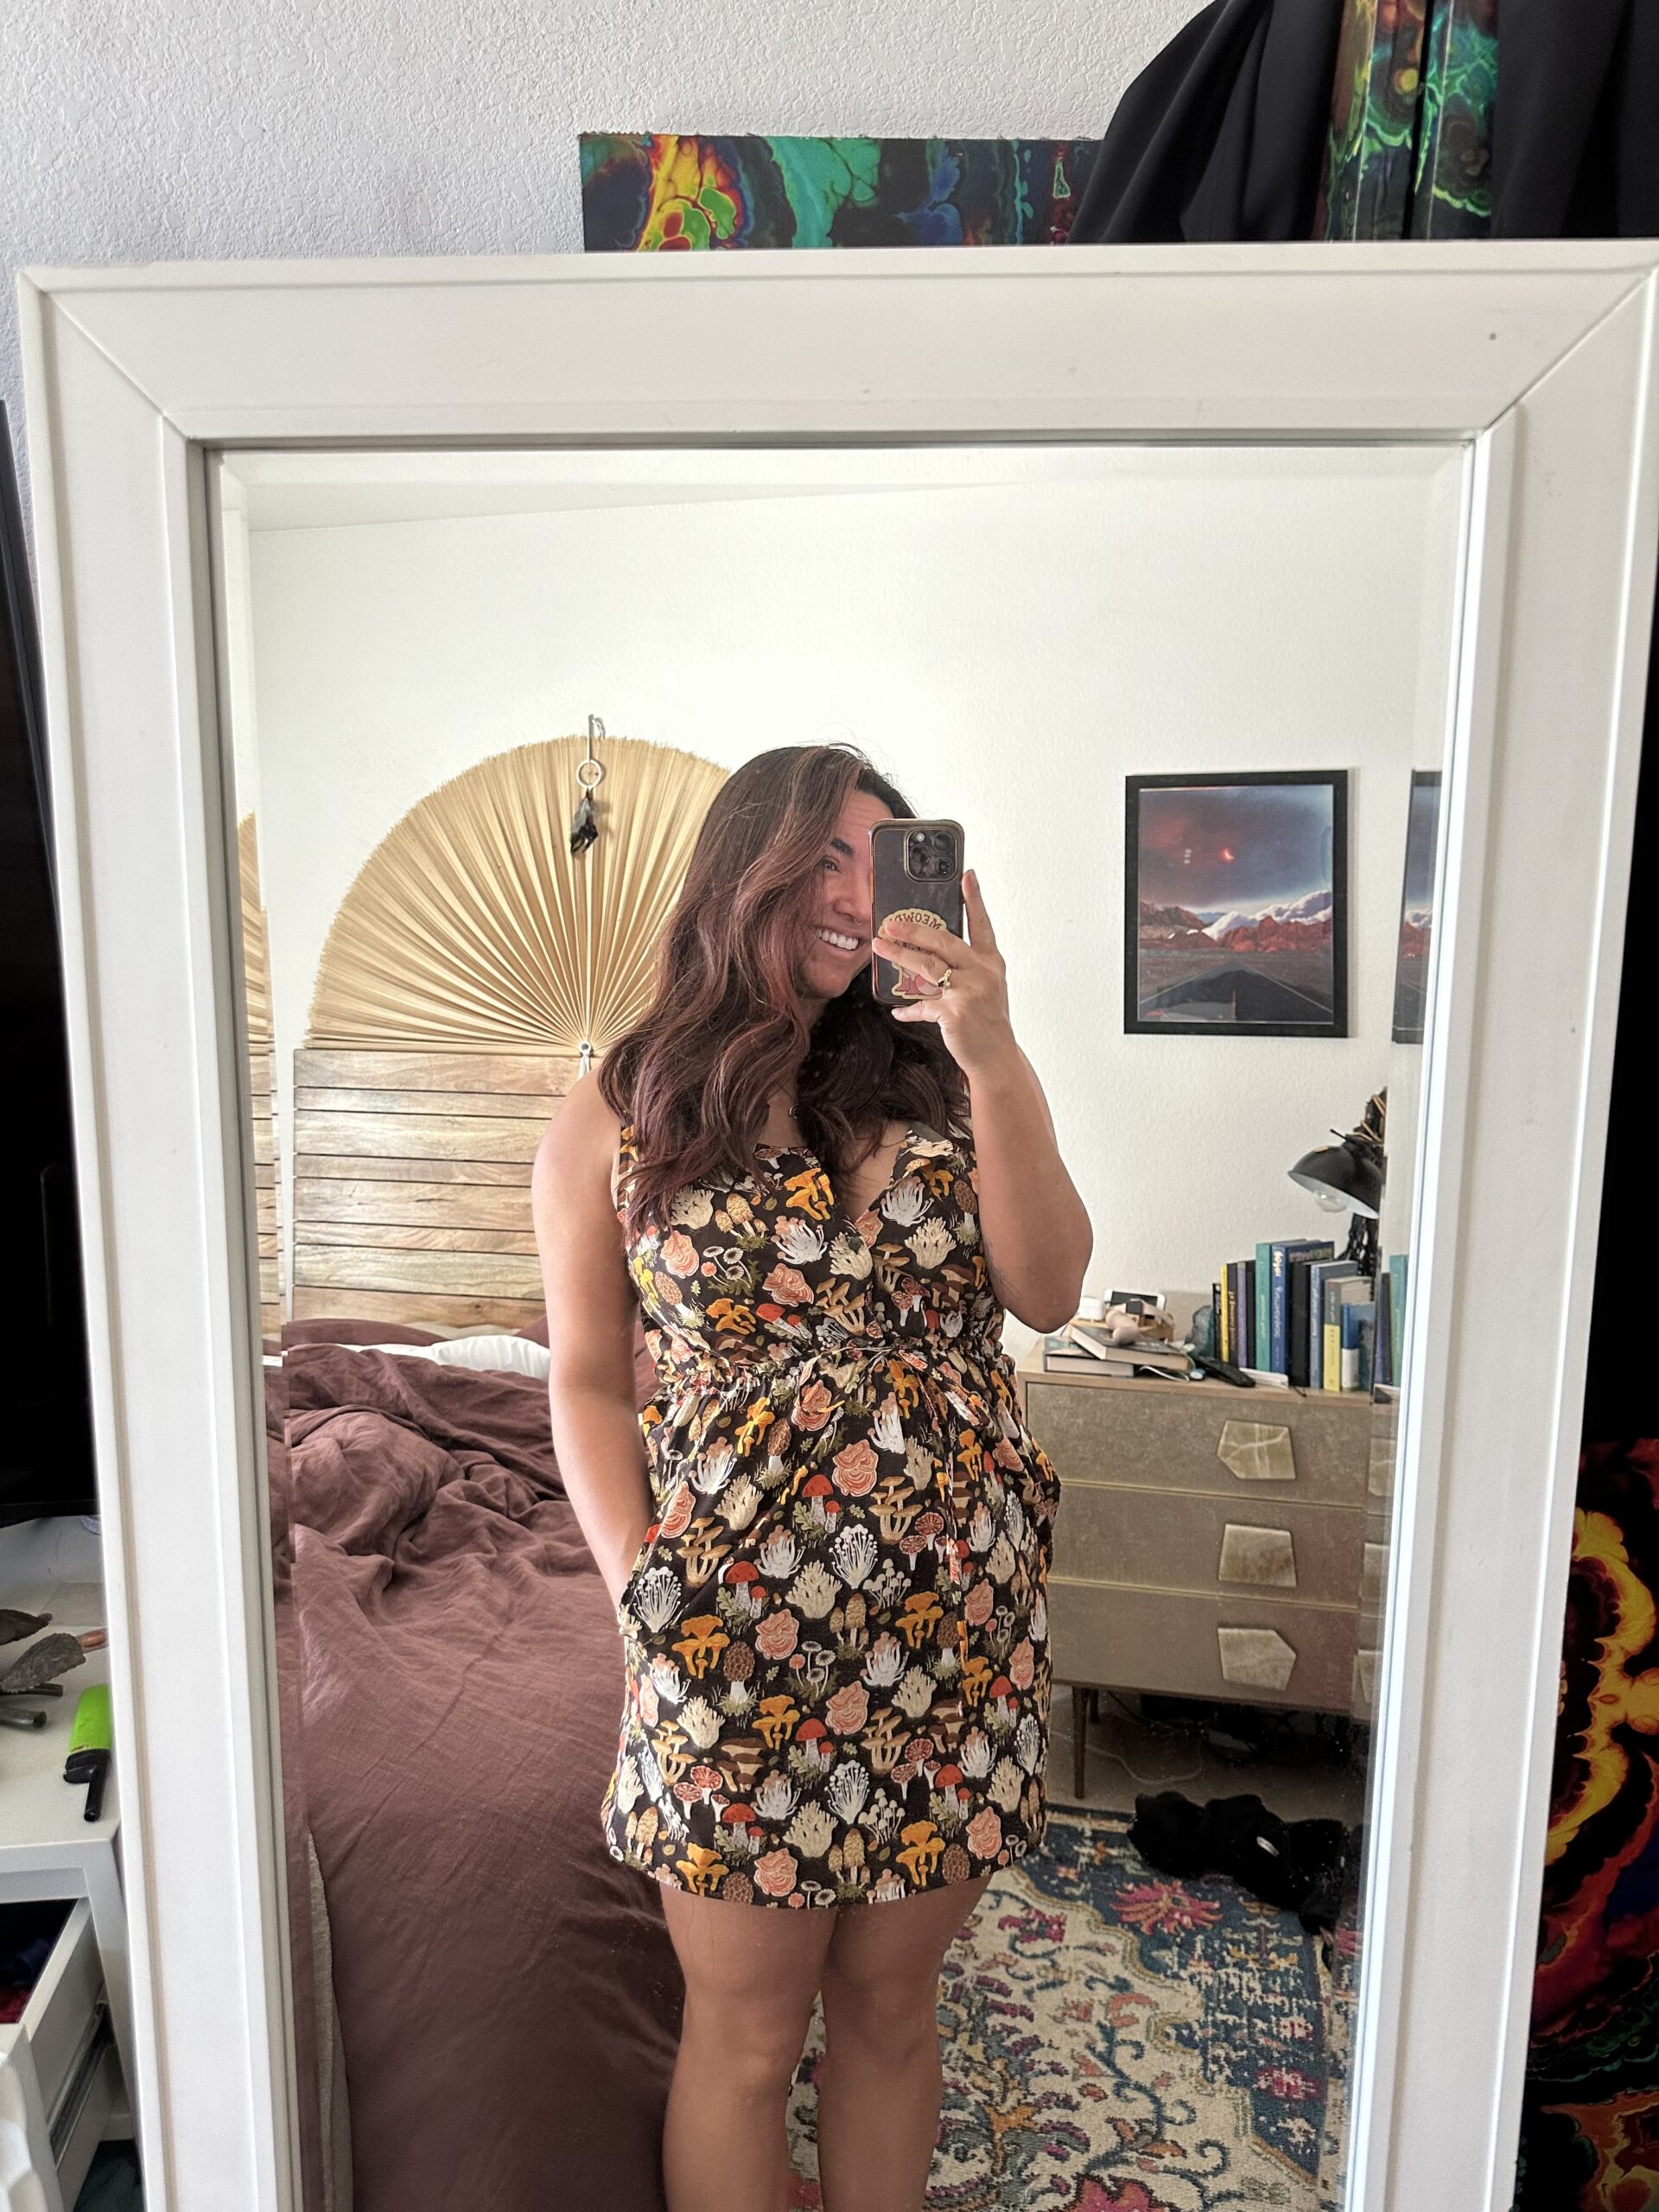
What is it about creative people that makes us decide, at the last possible minute, to do something a little crazy, like sewing a dress for a wedding with zero prior dressmaking experience, just a few short weeks before the big day? Such was the story when I set my sights on making the Layla Scarf Dress from Lizzie Design Studio for my friend’s wedding.

Pattern Overview:
The Pattern: Layla Scarf Dress by Lizzie Design Studio
Features: midi length (with options for a shorter length), one-shoulder and optional scarf wrap detail, bias cut for drape
Size range: US 02-20/EU 34-52/UK 6-24/AU 6-24 (I made a US size 10)
Skill level: Confident Beginner (There aren’t any zippers, buttons, or complex closures in this one, so it’s a great introduction to working with silky fabrics for the first time!)
Skills: Bias cut, Rolled hems, French Seams
Suggested fabrics: lightweight woven with fluid texture (e.g., viscose, satin, crepe)
Pattern Format: PDF
Pattern Price: Approximately $16 USD
My Fabric:
When I decided to make the Layla Scarf Dress, I wanted something that felt luxurious without requiring a major investment, especially since this was my first time sewing with satin. I wasn’t about to splurge on expensive silk only to risk another expensive project in the WIP graveyard if things went sideways.
So, I went shopping in my own stash and pulled out this satin I’d picked up from JoAnn Fabrics a few months prior (I know, RIP to the affordable fabric store queen). I originally bought it simply because I loved the print; it had a soft sheen and a fluid drape that I thought might pair nicely with the bias-cut shape of this dress. I’ll admit, I was nervous about how the pattern placement would look once cut on the bias, sometimes prints can look wonky when they’re cut diagonally, but, as always, I worried for no reason; the pattern looks amazing on this dress. The one downside of the fabric was that it snagged easily, but I can’t complain too much for the price.
If you’ve never sewn with satin (or on the bias) before, it can be both a blessing and a curse. The drape of the fabric is gorgeous; that’s why we love it for fancy dresses that glide over the body. But, this also means you have to be gentle when cutting and pressing to avoid distortion. I used plenty of pattern weights and cut one layer at a time, which I highly recommend for the best results.
Sizing and Modifications:
Because I’m a gal who really leads with her chest, so to speak, I typically choose my size based on my bust measurement. For this project, I cut a US size 10, though I probably could have sized down slightly for a closer fit through the waist. The benefit of sticking with the 10, however, was that it gave me some extra room to fine-tune the fit as I went without worrying about accidentally making the dress too small.
Sometimes, we have projects that really teach us something. This project was one of those. The lesson? Try the dress on before finishing your French seams. After assembling the main dress pieces, I rushed into finishing the seams before checking the fit. When I finally tried it on, I realized the dress was looser than I wanted, especially in the waist. That meant I had to go back and take it in on both side seams after finishing the French seams, which left me with one rather bulky seam on one side. It’s not the end of the world, but it’s definitely something I’d try to avoid next time, since it’s easy to take 5 extra minutes to try on and pin the dress.
Taking in the sides made a huge difference in how the dress hung on my body. Because the dress ties in the back, tightening it without adjusting the sides created a few awkward bumps and drag lines in the fabric. Nipping in the sides helped everything lay smoothly and gave me a more flattering silhouette overall.
For the scarf detail, the pattern only called for one layer with a baby rolled hem. Since my fabric was only printed on one side with an unsightly whiteish color on the other, I decided to cut two mirrored scarf pieces and sew them right sides together and turn right-side out to create a fully double-sided scarf. If you choose to also go this route, be sure to trim or notch the inside seam allowance and press the finished scarf, so it lays nice and flat when the dress is finished.
This method eliminated the need for additional hemming (and I’m not mad about it, baby rolled hems on satin can be tricky) and gave the scarf a bit more structure and weight. The finished effect feels more substantial and I love how it drapes. Yes, it’s slightly heavier, but in a way that makes it fall elegantly over the shoulder instead of fluttering around too much.
Final Thoughts:
Overall, the Layla Scarf Dress turned out to be the perfect sewing project. The end result is gorgeous and it pushed my sewing skills just enough to feel confident when working with new fabrics. This project had me working with slippery satin for the first time, sewing on the bias for the first time, and refining the fit for the first time, but it still felt manageable and rewarding for a relatively beginner sewer. Even with a few construction hiccups (looking at you, bulky seam), I ended up with a dress that feels elegant, comfortable, unique, and wearable for a fancy occasion.
If you’re thinking about making this pattern, I’d definitely recommend it, especially if you’ve been wanting to try a bias-cut project but don’t want to tackle something overly complex. This project doesn’t have a lot of those intimidating pieces like buttons or zippers, so you can just focus on learning to work with slippery fabrics. Just take your time with the cutting and be sure to test the fit before finishing seams.
I’m already eyeing a bold print silk to make this dress in a shorter version for any fun occasions next summer (maybe a destination wedding I may be attending).
Have you made the Layla Scarf Dress, or are you planning to? I’d love to see your version! Just drop a link below so I can see it. I love seeing how many gorgeous variations of this dress there are!