
If I see something with a good mushroom print, you don’t need to say all that much to convince me that it needs to come home with me. When I saw this cotton lawn arrive at SewBo, a sewing store in Boulder, I quickly sorted through my pattern collection to see what might work with it. I settled on making a mini version of the Southport dress by True Bias.
Pattern Details:
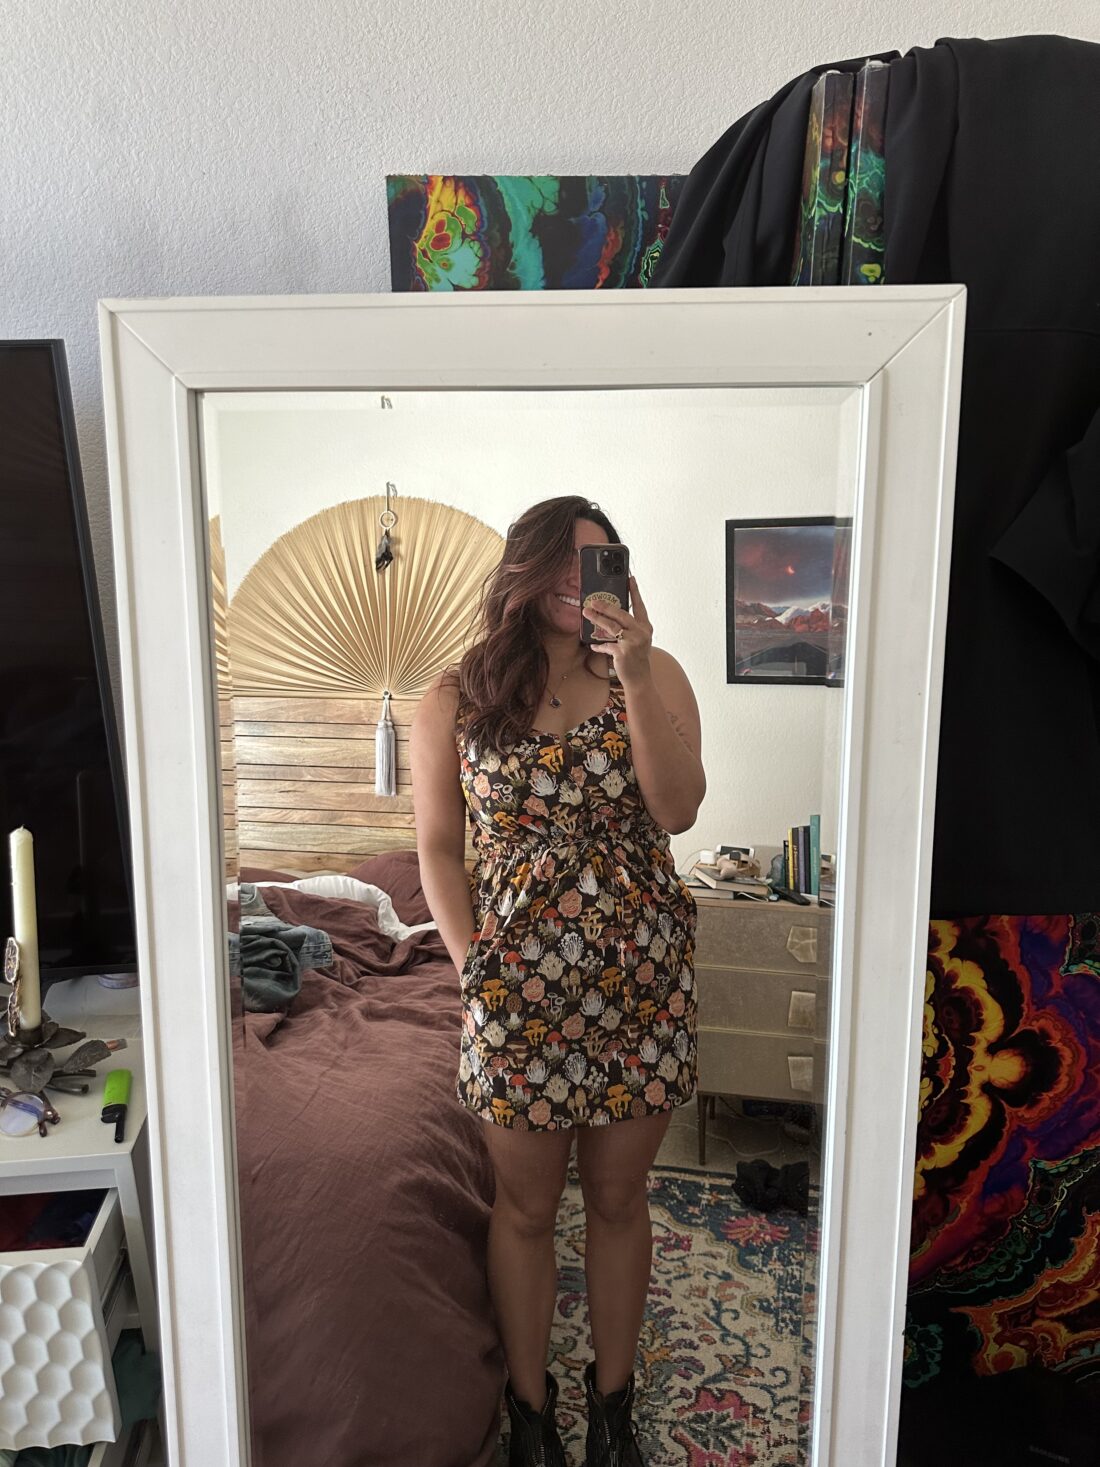
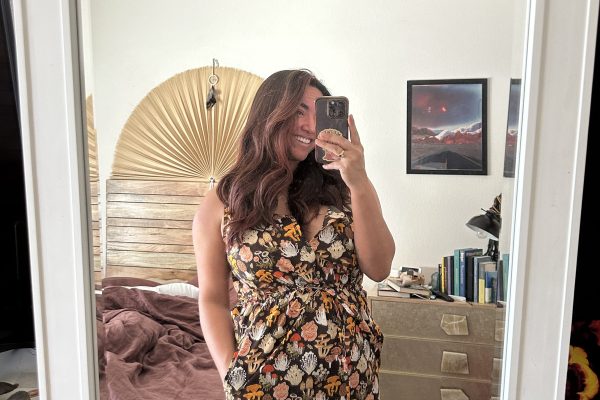
The Southport dress has two views: a maxi dress with a front slit and a mini-length dress. Both versions have optional pockets. (Side note: I need to practice my pockets because this is not my best work.) It has a scoop neckline, bra-friendly straps, and a button-front bodice.
It’s a simple enough design and my first attempt at using bias tape. I’ll go ahead and let you know that using bias tape was not as hard as I thought it would be. Lucky for me – this opens up a world of opportunities in the patterns that I’ve put off because I was intimidated by the thought of using it.
Name: Southport Dress
Designer: True Bias
Size Range: 0-18, 14-32
Fabric and Notions:
- 2.5 yards 45″ Cotton Lawn
- 13mm Double-fold bias tape
- 4 11mm buttons
- Coordinating thread
- Lightweight interfacing (I was able to use a few scraps)
- Optional fun tag
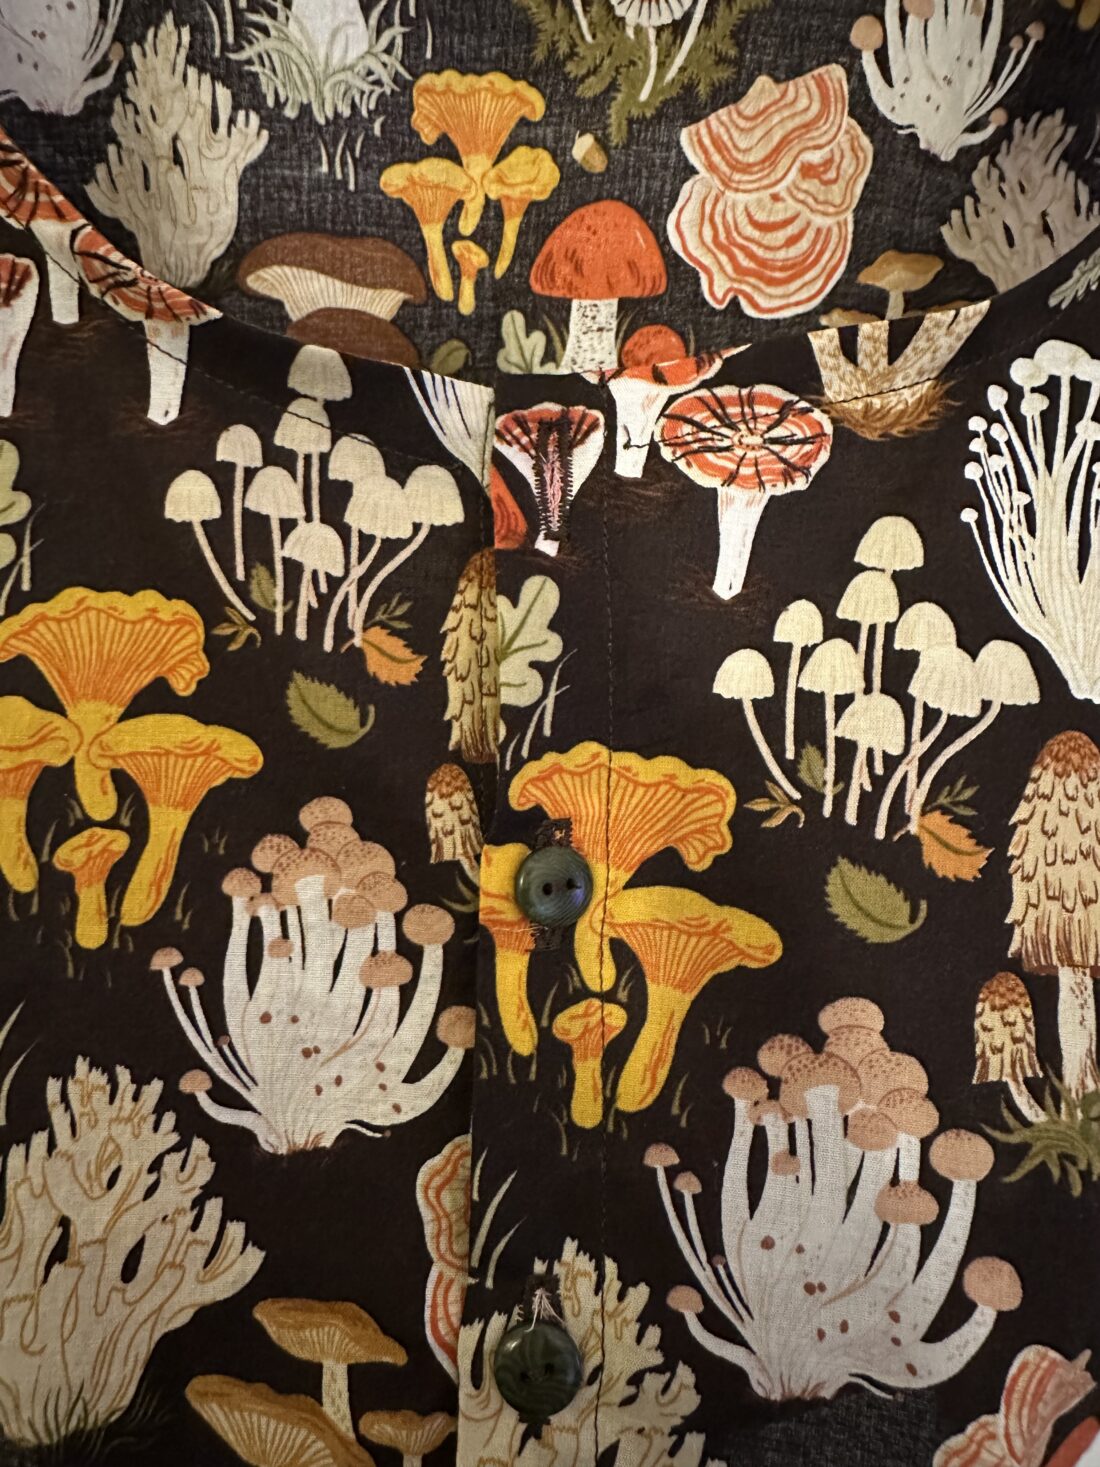
I needed 2.5 yards of this mushroom fabric to make this dress. The fabric was a 45″ cotton lawn from SewBo. I chose a khaki-colored bias tape (it’s not visible when wearing), a fun tag from Kylie and the Machine, and dark khaki buttons for the outside of the dress. It was difficult to choose coordinating buttons, as I could have gone with any color from the mushroom print, but I was happy with the green I chose.

Fit Review:
I made a size 10, which is both consistent with my measurements and consistent with my sizing in True Bias patterns. I could have made a size 12 and slightly extended the length, and I think I might have been happier with the overall fit of the dress. But, as a caveat, I like my clothing to fit a bit loose.
Even before I had finished the bodice, I was worried about the length. I have a bigger chest to wrestle with, so I usually size up just for the extra space. The measurements fit the width of my chest well, but I do wish I had a few more inches so the waistband fell at my natural waist. Instead, the drawstring falls just above my natural waist, which is a little higher than I would like.
The dress itself is true to size, but I also would have appreciated just an extra inch or two in the hips and butt area. Again, I have a little more in that area to accommodate, but I would have preferred a slightly more A-line cut.
Final thoughts:
This dress turned out cuter than I expected, especially after being slightly underwhelmed in the intermediate stages of sewing. I was worried the dress would be a bit too shapeless; however, the drawstring really does help with the fit of the dress overall.
If I make this dress again, I would want to add at least an extra inch of length to the bodice, and might even consider adding a half inch of length to the straps as well. I’m happy with the overall length of the dress, although it’s super easy to hem to your desired length. I’d also add about an inch of ease to each side of the skirt to give it more of an A-line shape.
It is a cute and simple dress and, in my opinion, a good dress for beginner sewers to tackle a few new skills, like buttons and buttonholes, bias tape, and inset pocket construction. Would I make it again? Yes, probably, but I do have a few other patterns that I would like to tackle before circling back to this one.
As always – happy sewing!


The spore design is such a unique touch. Where did you find that fabric?
SewBo in Boulder, CO!