Working at a sewing store, inspiration strikes me pretty often. I’m always putting together new fabric combinations for customers or thinking about new designs as I put fabric back on the shelves. I’ve been this way my entire life; I just can’t stop daydreaming of creating new, cute things.
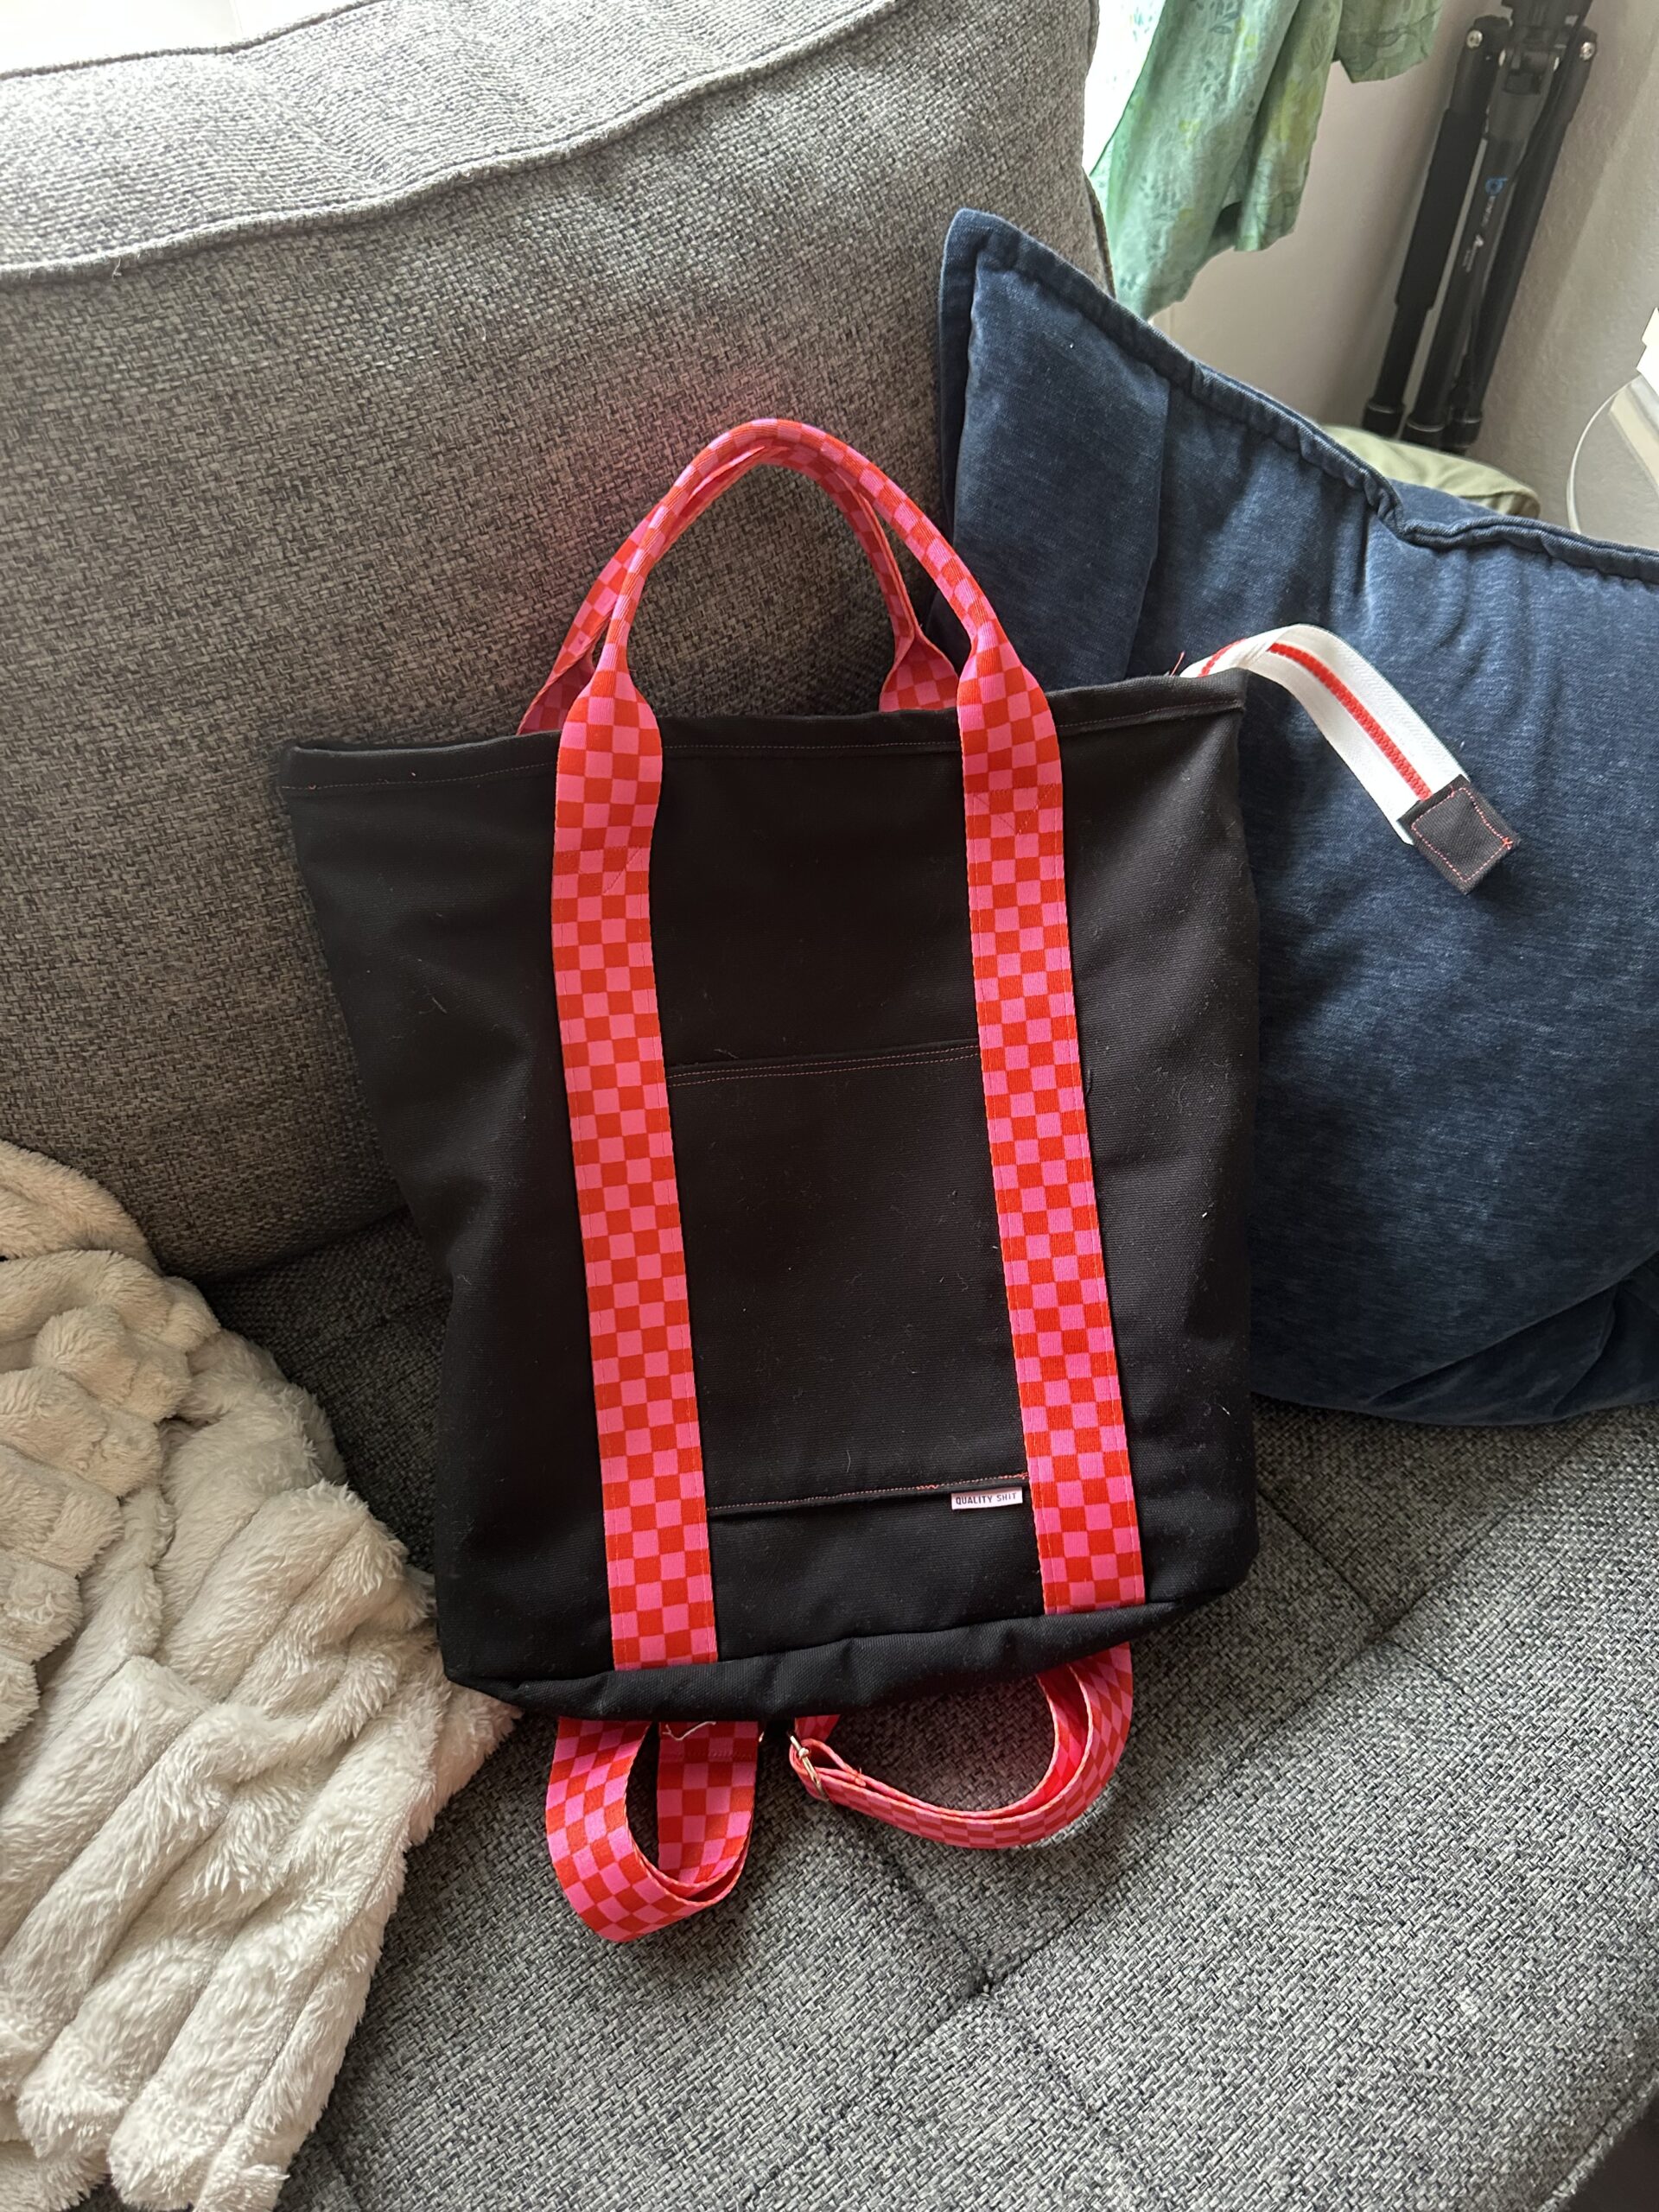
So, with my new Buckthorn backpack, it’s a tale as old as time (or at least as old as me). While I helped other customers prep their bags for our store’s bag-making class, my eyes kept going back to this same pattern. When we got a new shipment of webbings from Ruby Star Society, including this pretty red and pink checkered webbing, I designed this entire bag around it.
I won’t lie, the materials sat in my stash for a while. While I do love making bags, cutting the pieces from measurements alone is not one of my favorite prep steps. A few weeks ago, my motivation finally struck me (I think we can blame it on my ADHD medication) and I finally cut the pieces and sat down to sew the dang thing. My sewing skills were tested in a few places, but I think it turned out pretty darn cute.
The Pattern:
Pattern: Buckthorn Bag
Difficulty Level: I would say this is a good pattern for someone with some sewing experience; I definitely wouldn’t classify it as a total beginner! A confident beginner or intermediate sewer could tackle this one.
Other Details: This pattern comes in two sizes: a backpack (the size I made) and a smaller tote version. It also comes in both PDF and print formats. This pattern is mainly made up of cuts of carefully measured rectangles, with one pattern piece for the bottom of the bag.
The Materials:
Exterior: BLACK from Big Sur Canvas
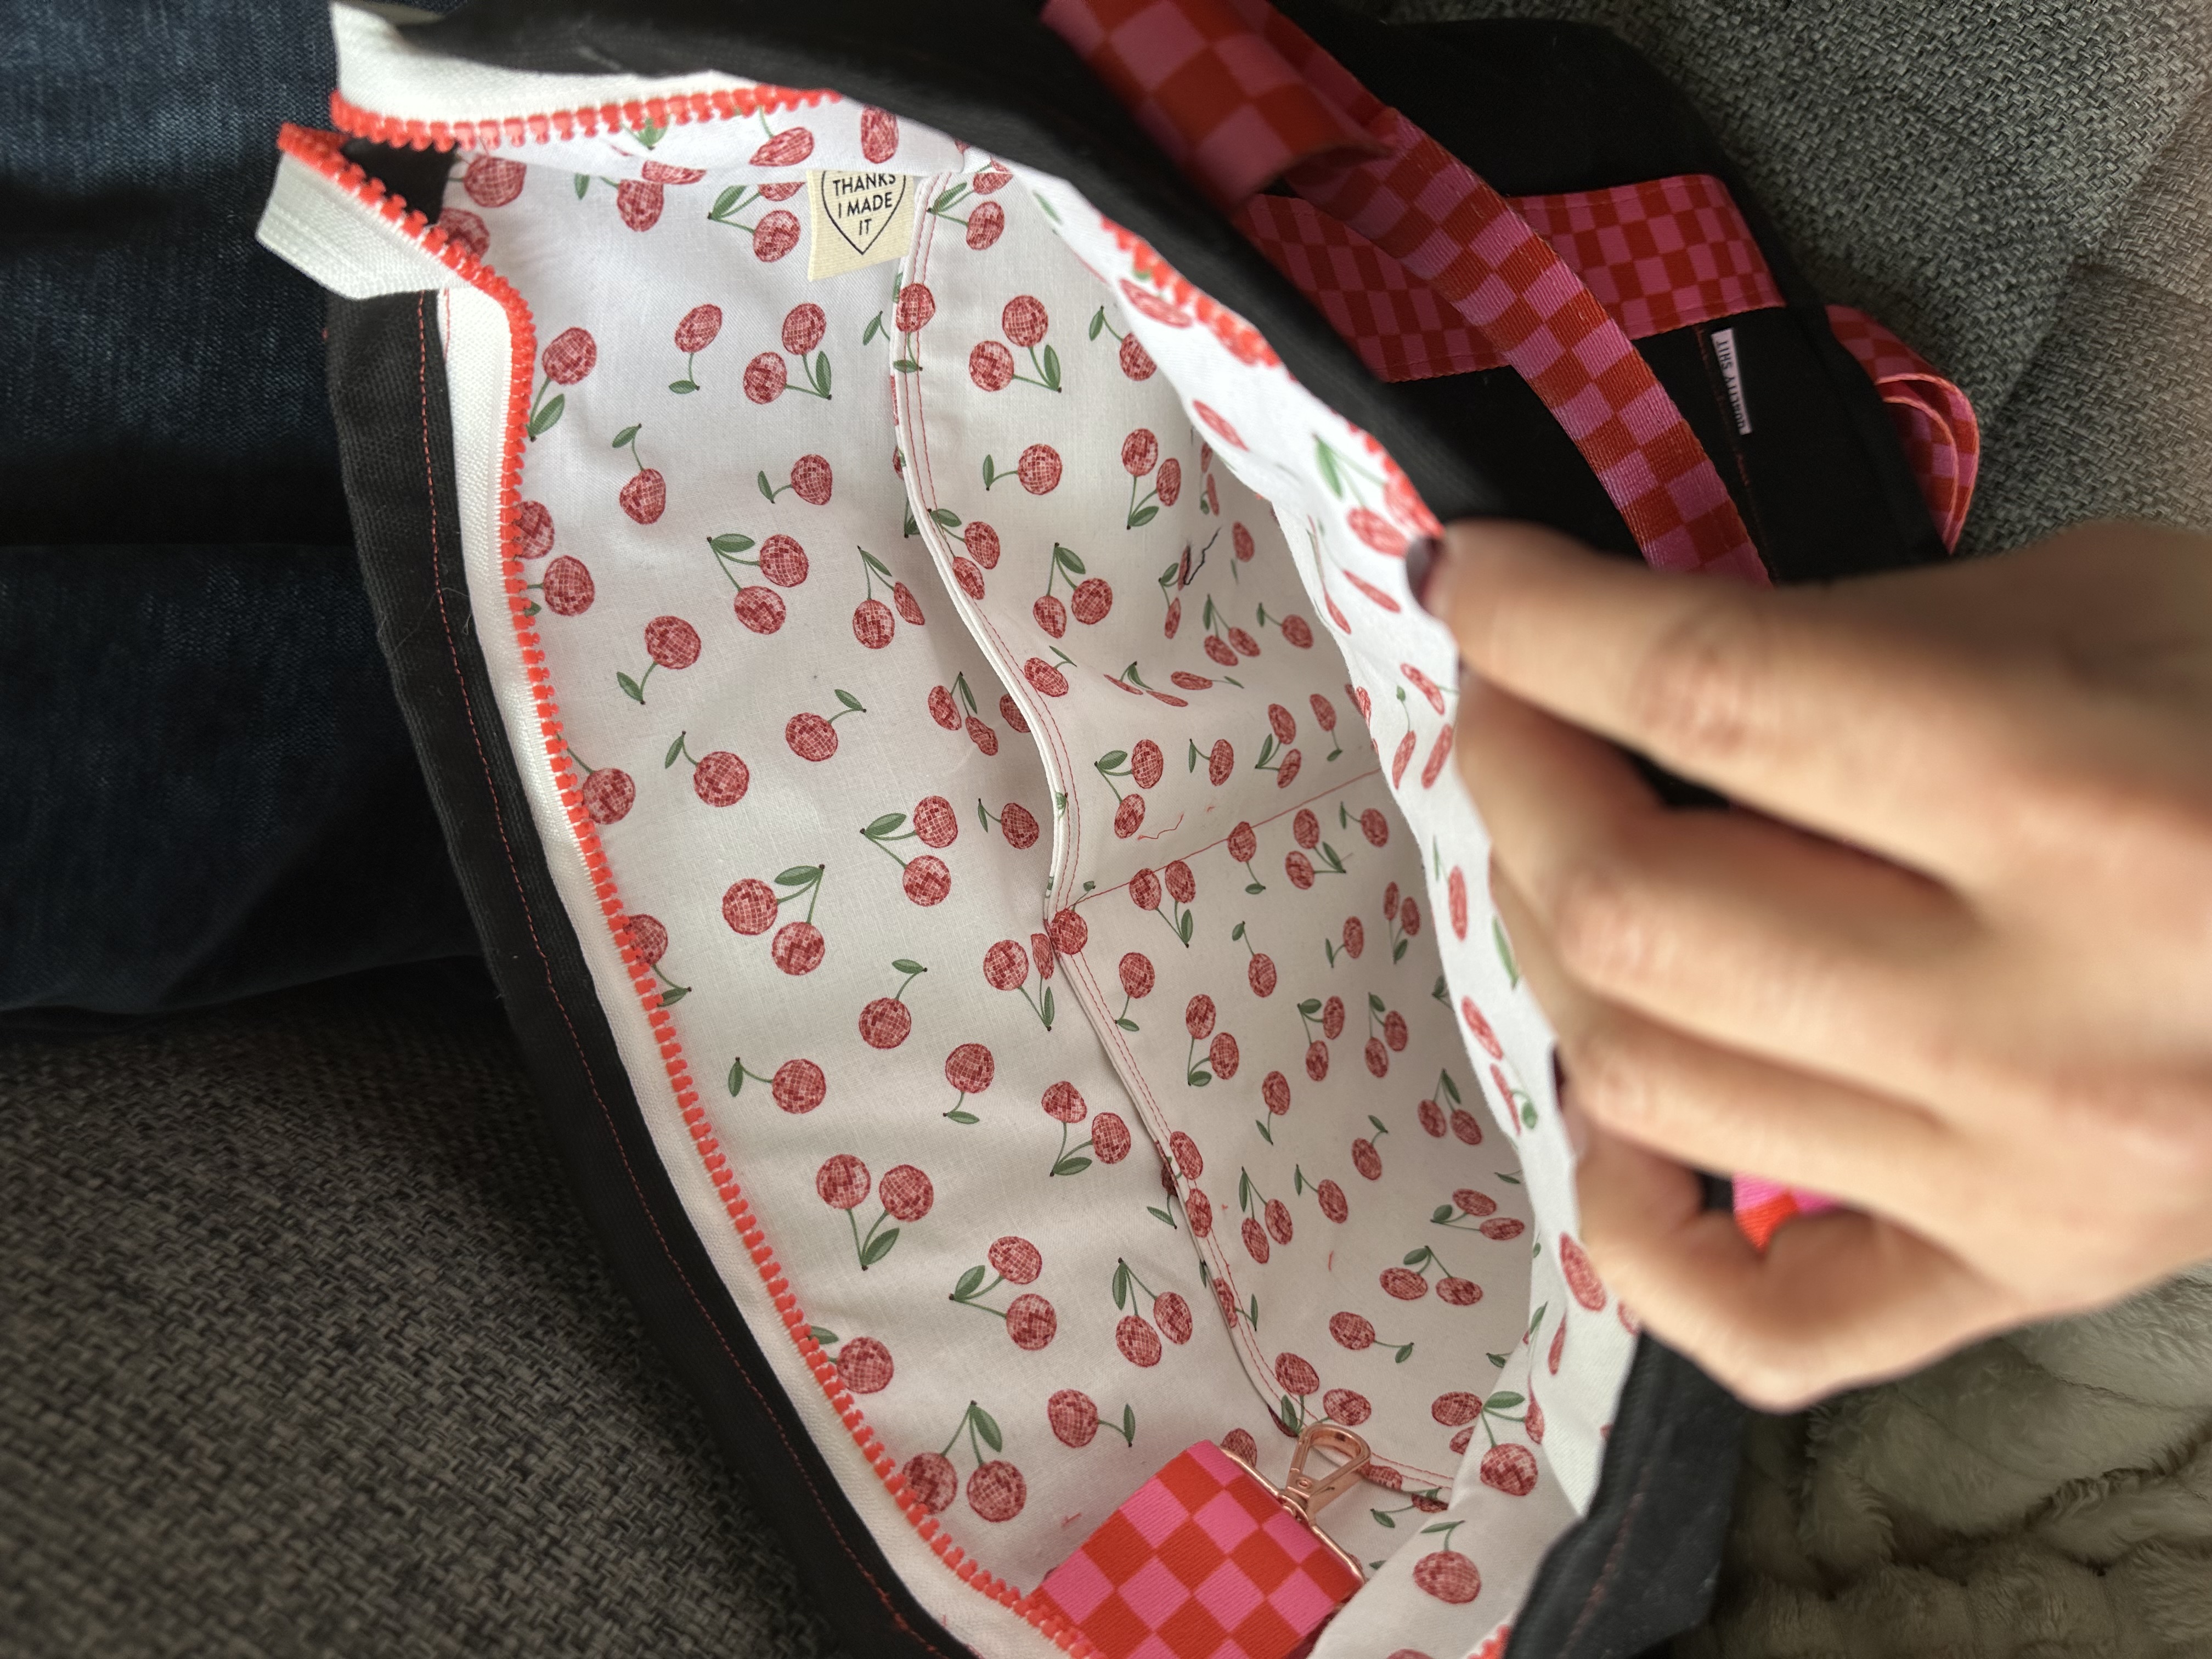
Lining: Dear Stella – Cherry Disco Balls, Cherries on White Background
Webbing: Ruby Star Checkered Strawberry 1.5″ Webbing
Notions: Guterman Sew All Thread in 405, Rose Gold hardware, Pellon SF101, Fusible Fleece
The Construction:
Overall, the construction of this bag felt very similar to other bags I’ve made in the past. I tackled two new things in this pattern: attaching a round base and enclosing the zipper. There are a few crinkles around the bottom of my backpack where I attached it to the base, but overall, I don’t think they are too noticeable unless someone is really looking.
While I’ve constructed bags before, I did struggle sewing a few very thick sections of this backpack. I had to wrestle with my sewing machine a bit to get them to fit under the machine foot. I also added a small key ring on the inside of my zipper using a few inches of extra webbing I had on hand, and boy, I thought I might take my sewing machine out with that one.
I’ll be honest, I’m not always the most precise sewer, which can really come back to bite ya in a project like this one. I needed to seam rip in a few places where I probably should have measured, but tried to eyeball it instead.
And – as a tip – remember which sides are the top/bottom and sides of the bag. The pattern maker actually mentions this in her YouTube tutorial, and I still somehow sewed this together wrong the first time. In my defense, I was sewing after 10 pm. Oh well. You live and you learn.
Final Thoughts:
I do love the final product. Even with my teeny mistakes, I think the colors in this bag are so fun and this pattern is great for showing off pretty webbing!
The backpack size isn’t too big; it’s perfect for toting around my knitting projects and maybe holding a smaller laptop.
If you want a more beginner bag, I would start with the Range backpack instead. That one is definitely a bit more beginner-friendly, but if your heart is set on this one, I believe in you!